DeepSeek V3.2-Exp is an open-source large language model that introduces DeepSeek Sparse Attention (DSA) for efficient long-context processing. This guide will walk you through running DeepSeek V3.2-Exp locally using vLLM, a high-performance LLM inference engine. We focus on inference-only usage (no training) and cover all deployment modes: an interactive CLI quickstart, using vLLM in a Python script, and hosting a local vLLM server with an OpenAI-compatible REST API. Throughout, we assume no prior experience with vLLM – we’ll introduce what it is, why it’s useful, how to install it, and how to load models. The primary target hardware is NVIDIA GPUs (for which vLLM offers stable Day-0 support), with notes on AMD ROCm GPUs and CPU fallback for completeness. By the end of this guide, you’ll be ready to leverage DeepSeek V3.2-Exp’s capabilities on your own machine.
Introduction to DeepSeek V3.2‑Exp and vLLM

DeepSeek V3.2-Exp is an experimental 685B-parameter MoE model built upon the prior V3.1-Terminus model. The idea behind DSA is to avoid the quadratic cost of standard attention on long sequences by using a two-stage process: “lightning indexer” that quickly scores relevant tokens and selects the top tokens, followed by focusing full attention only on that small subset. This innovation maintains output quality comparable to V3.1-Terminus, but greatly improves efficiency for long inputs. In fact, early results show up to ~50% lower compute cost for long-context inference compared to the previous dense-attention model. Figure 1 below illustrates how V3.2-Exp’s sparse attention yields a much slower growth in computational cost as input length increases, versus the steep quadratic growth for dense attention (V3.1-Terminus). This makes V3.2-Exp especially well-suited for tasks with extended context windows, as it can handle long prompts or documents far more efficiently.
Figure 1: DeepSeek V3.2-Exp’s sparse attention drastically reduces per-token compute cost for long sequences, compared to the dense attention in V3.1-Terminus, on other hand V3.2-Exp requires significantly less computation as context length grows, enabling faster and cheaper inference on long inputs.
To run a model of this scale and complexity on local hardware, we turn to vLLM which is an open-source inference engine and server designed to make LLM serving fast, memory-efficient, and easy. At its core, vLLM introduces a novel memory management algorithm called PagedAttention, inspired by operating system virtual memory paging. In traditional LLMs, the key-value (KV) cache grows with sequence length and often leads to massive GPU memory usage and fragmentation. vLLM’s PagedAttention tackles this by partitioning the KV cache into fixed-size “pages” or blocks that need not be contiguous in memory. During generation, it can fetch and reuse these blocks on the fly, achieving nearly optimal GPU memory utilization (wasting under 4%). In practice, this means vLLM can batch and serve many requests simultaneously without running out of memory, dramatically boosting throughput. It even enables memory sharing across requests. The bottom line: vLLM squeezes much more performance out of your hardware. In fact, benchmarks have shown up to 24× higher throughput than standard Hugging Face Transformers on the same GPU, and 2–3× higher than previous optimized servers like HuggingFace TGI. In summary, vLLM is an inference-optimized LLM server that makes large models like DeepSeek V3.2-Exp feasible to run by better using GPU memory (via PagedAttention) and by intelligently batching requests for speed.
Hardware Requirements and Setup
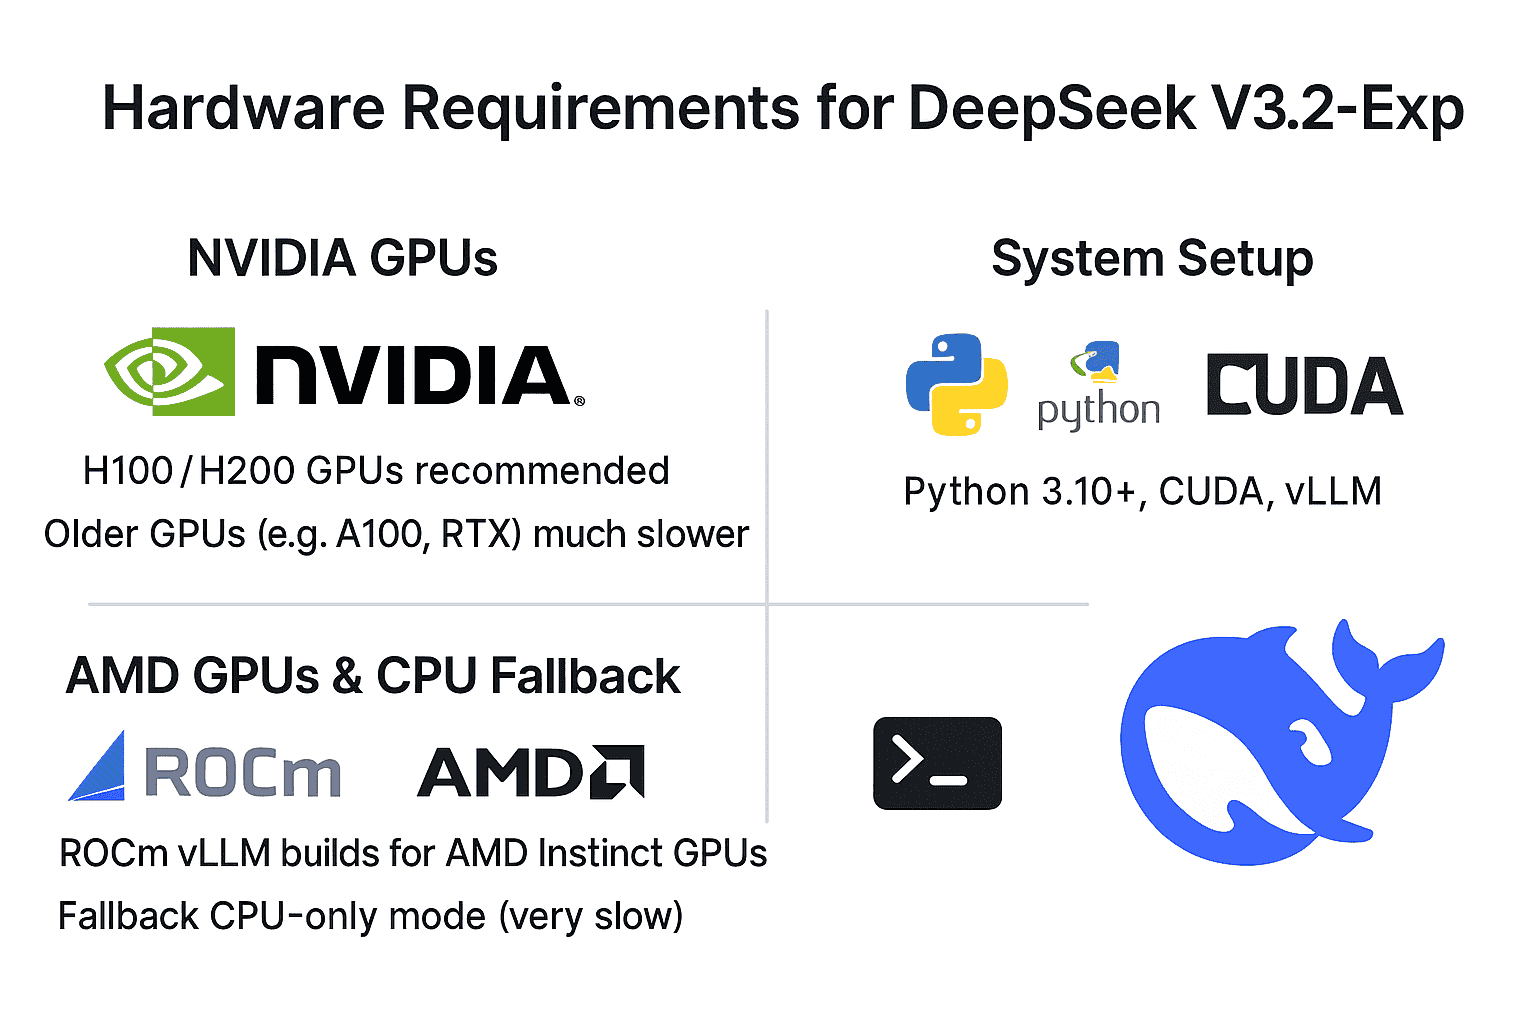
NVIDIA GPUs: To realistically run DeepSeek V3.2-Exp, you will need a powerful NVIDIA GPU (or several). vLLM delivered Day-0 support for this model on NVIDIA’s latest architectures – notably Hopper (H100/H200 GPUs) and upcoming Blackwell GPUs (B200/GB200). These GPUs support BF16/FP8 precision and have large memory (e.g. 80–96 GB per card) which DeepSeek exploits. Multi-GPU setups are recommended: for example, the model has been tested on configurations like 8×H100 or 8×H200 with tensor parallelism. Older NVIDIA GPUs (like A100 or RTX series) might run the model in theory (using BF16 precision and swapping to CPU if needed), but will be limited by memory capacity and lack native FP8 support – expect much slower performance, if it runs at all. For this guide, we assume you have at least one 80GB-class NVIDIA GPU; if you have multiple, vLLM can automatically split the model across them.
AMD GPUs (ROCm) and CPU fallback: While NVIDIA + CUDA is the primary focus, vLLM has recently added support for AMD GPUs via ROCm. As of vLLM v0.6+ (and especially v1.0+), you can run on AMD Instinct accelerators like MI200/MI300, or even Radeon RX 7900 series, using the ROCm-based vLLM build. This typically involves using Docker containers or building from source with ROCm libraries, since pre-compiled wheels for ROCm may not be available. CPU-only mode is also possible as a fallback – vLLM will then use PyTorch CPU backend – but a model of this size will run extremely slowly on CPUs and is not practical beyond small-scale testing. In summary, for a good experience you’ll want an NVIDIA GPU (preferred) or a high-end AMD GPU, with the rest of this guide oriented around NVIDIA/CUDA instructions.
System setup: Ensure you have a compatible environment ready. You’ll need Python 3.10+ or 3.11/3.12 (vLLM is frequently tested on Python 3.11/3.12). If using NVIDIA GPUs, install the NVIDIA drivers and CUDA toolkit matching the version needed by vLLM’s binaries (vLLM’s pip wheels are currently built against CUDA 12.x and PyTorch 2.x by default). For instance, having the CUDA 12.1 or 12.2 runtime on your system is recommended. If using conda or venv, create and activate your environment first. Then, you can install vLLM via pip:
# Create/activate a virtual environment first (optional)
pip install vllm
This will fetch the vLLM Python package and its dependencies. Upon installation, it’s wise to verify everything is working. For example, run python -c "import vllm; print(vllm.__version__)" to print the vLLM version. You can also run vllm --help to see the CLI help and ensure the command-line tool is accessible. If you encounter errors during installation (e.g. related to PyTorch or CUDA), ensure your system’s CUDA driver is up to date and consider installing the matching pytorch package first. For example, on NVIDIA, you might do pip install torch torchvision torchaudio --extra-index-url https://download.pytorch.org/whl/cu121 (for CUDA 12.1) before installing vLLM, to guarantee binary compatibility. Once import vllm works without issues, you’re ready to proceed.
Inference-Only Focus (No Training on Local Setups)
Why no training? DeepSeek V3.2-Exp is inference-optimized and not intended for retraining or fine-tuning on consumer hardware. This model is enormous (hundreds of billions of parameters) and requires specialized infrastructure to train. In fact, the DeepSeek team explicitly kept the training recipe for V3.2-Exp identical to V3.1, focusing their efforts on inference efficiency improvements. The released artifacts include model weights and an inference demo, but no training code or finetuning scripts for V3.2-Exp are provided. Moreover, the model architecture (with its mixture-of-experts and sparse attention mechanism) would make training extremely complex without bespoke distributed training support. In practical terms, fine-tuning or re-training a 685B-parameter model would cost millions of dollars in GPU resources – far beyond a “local setup.”
For these reasons, this guide only covers running inference. We will show how to load the pre-trained DeepSeek V3.2-Exp model and generate text with it. If you need a smaller or trainable model, you might look at distilled or reduced versions (DeepSeek Distill, etc.), but V3.2-Exp itself is treated as a serve-only model for research and deployment. The good news is that focusing on inference means we can take advantage of vLLM’s optimizations (PagedAttention, continuous batching) to get the best performance out of the model on day one.
Installing and Loading DeepSeek V3.2‑Exp in vLLM
Before diving into specific deployment modes, let’s cover how to obtain the DeepSeek model and load it with vLLM. DeepSeek V3.2-Exp’s weights are available on Hugging Face Hub under the repository deepseek-ai/DeepSeek-V3.2-Exp. The vLLM library has day-0 integration for this model, meaning it knows how to load the architecture and weights out-of-the-box (vLLM version 0.11.0 or later supports DeepSeek 3.2-Exp). You do not need to manually convert the weights – vLLM will handle it, provided you have the correct version.
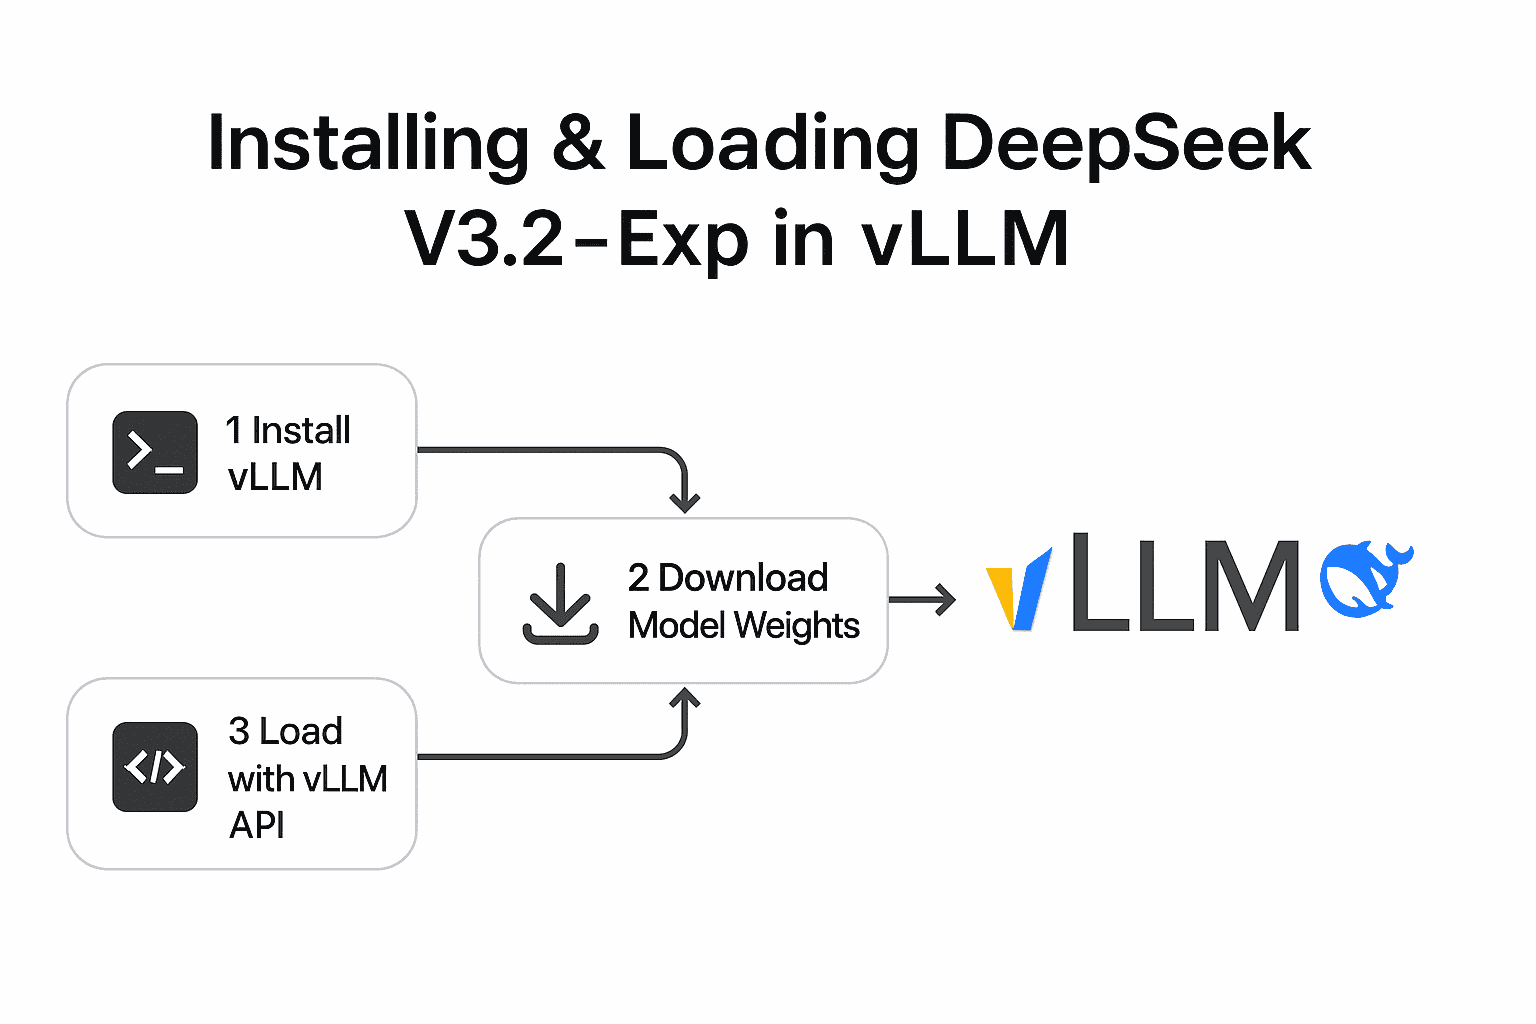
Step 1: Install vLLM. We already covered this step (using pip install vllm). Make sure you also have Transformers library installed (pip install transformers) if it wasn’t pulled in automatically – vLLM may use it for tokenizer or config. In many cases, pip install vllm will have installed a compatible torch and transformers version for you.
Step 2: (Optional) Download the model weights. When you first load the model, if not already cached, vLLM will download the DeepSeek-V3.2-Exp files from Hugging Face. This is a large download (potentially hundreds of GBs). You may want to pre-download it (e.g. using huggingface-cli or git lfs) to avoid a timeout. You can also log in to Hugging Face or use a token if required for large file access. For our examples, we’ll assume internet access and caching work by default.
Step 3: Use vLLM’s API to load the model. There are two main ways to do this: via the vLLM CLI (for the server/CLI modes) or via the Python API (for script mode). We will illustrate both in the next sections. Internally, vLLM will handle loading the model shards, setting up the execution engine, and allocating the KV cache with PagedAttention. When using multiple GPUs, you’ll specify a tensor_parallel_size to split the model across GPUs (since DeepSeek V3.2 uses tensor parallelism rather than data parallel for initial support).
Now, let’s explore the three deployment modes one by one.
Deployment Mode 1: Interactive CLI Quickstart
If you want to quickly test DeepSeek V3.2-Exp and see it generate text, using vLLM’s command-line interface is the fastest route. This mode does not require writing any code – just a couple of terminal commands.
Start the vLLM server with DeepSeek model. In a terminal, run:
vllm serve deepseek-ai/DeepSeek-V3.2-Exp --tensor-parallel-size NReplace N with the number of GPUs you want to use (e.g. --tensor-parallel-size 8 for an 8×GPU server, or use 1 or omit the flag for a single GPU). This command will launch vLLM’s built-in HTTP server and load the DeepSeek model. By default it listens on http://localhost:8000 and implements OpenAI-compatible endpoints (more on this later). You should see logs as vLLM loads the weights and allocates memory. The first load may take several minutes (particularly due to initializing the sparse attention kernels and FP8 GEMM warm-up), but subsequent runs cache a lot of data for faster startup. Once you see a message like “Server running” or it listening on a port, the model is ready.
Interact with the model in CLI. vLLM doesn’t provide a REPL prompt within the serve process, since it’s running as a server. However, it offers a convenient CLI tool to send a test query to the running server. Open a second terminal (keeping the server running in the first) and use the vllm chat command. For example:
vllm chat --prompt "Hello, DeepSeek! How do you feel today?"This will send your prompt as a user message to the chat/completion endpoint and print the model’s reply on the console. The vllm chat command by default connects to localhost:8000/v1 (you can specify --url if your server is on a different host/port). After a short delay, you should see DeepSeek’s generated answer printed in your terminal. You can re-run vllm chat with different prompts as needed. This one-shot CLI approach is great for quick sanity checks or exploring the model’s behavior interactively. Tip: You can also send completion requests using standard tools like curl since the server speaks the OpenAI API protocol. For example:
curl http://localhost:8000/v1/completions \
     -H "Content-Type: application/json" \
     -d '{"model": "deepseek-ai/DeepSeek-V3.2-Exp", "prompt": "DeepSeek, explain sparse attention in one sentence.", "max_tokens": 50}'
This would return a JSON with a "text" field containing the model’s completion. For chat-style interactions, you’d POST to /v1/chat/completions with a JSON including messages: [{"role": "user", "content": "..."}]. The vllm chat tool essentially does this for you under the hood.
Stop the server: When done, you can stop the vLLM server by pressing Ctrl+C in the terminal where vllm serve is running. This will free the GPU memory. Remember to shut down the server if you plan to switch to another mode (like running a script), to avoid competition for the same GPU resources.
This CLI quickstart demonstrates that DeepSeek V3.2-Exp is running locally – you can chat with it or get completions in real-time. However, running a persistent server and calling it via CLI might not be ideal for all uses. Next, we’ll look at how to use vLLM directly within a Python script for more flexible, programmatic inference.
Deployment Mode 2: Local Python Script for Inference
For batch processing or iterative inference (for example, generating outputs for a dataset, or integrating into a Python application), you can use vLLM’s Python API instead of going through the HTTP server. vLLM exposes a high-level class vllm.LLM which lets you load a model and generate text from it directly in your Python code. This approach avoids the overhead of HTTP and is useful for offline jobs or when you want to customize how prompts are fed and results handled.
Let’s walk through a basic example of using vLLM in a script to generate text with DeepSeek V3.2-Exp:
from vllm import LLM, SamplingParams

# 1. Initialize the LLM engine with the DeepSeek model.
#    This will download and load the model weights (caching for future runs).
llm = LLM(model="deepseek-ai/DeepSeek-V3.2-Exp", tensor_parallel_size=1)
print("Loaded DeepSeek-V3.2-Exp model into vLLM.")

# 2. Define your input prompts.
prompts = [
    "Q: What are the advantages of sparse attention in transformers?\nA:",
    "Q: Explain the significance of DeepSeek V3.2-Exp in simple terms.\nA:"
]

# 3. Set generation parameters.
sampling_params = SamplingParams(
    temperature=0.7,
    top_p=0.9,
    max_tokens=100   # limit to 100 tokens in the answer
)
print("Sampling parameters configured.")

# 4. Run the inference to generate outputs for each prompt.
outputs = llm.generate(prompts, sampling_params)
print("Generation complete.")

# 5. Print the results.
for i, output in enumerate(outputs):
    result_text = output.outputs[0].text  # The generated text for the prompt
    print(f"Prompt {i+1}: {prompts[i]}\nModel answer: {result_text}\n{'-'*40}")
A few things to note in the above code:
- We call
LLM(model="deepseek-ai/DeepSeek-V3.2-Exp")to initialize the model. Under the hood, this will handle downloading the model from Hugging Face (if not already cached) and setting up the vLLM engine. If you have multiple GPUs, you could specifytensor_parallel_size(as shown, we passed 1 for a single GPU). Withtensor_parallel_size=4on a 4-GPU machine, vLLM would automatically shard the model across those GPUs. You can also configure other aspects via anEngineArgsobject (not shown for brevity). - We create a list of prompts. In this case, we included a
Q:andA:format in the prompt to hint the model to answer a question, but you can provide any text. DeepSeek is a chat/QA-capable model, so it works well with question-answer or instruction prompts. - We configure a
SamplingParamsinstance. This lets us control the decoding strategy: here we set a moderatetemperatureof 0.7 (for some randomness), use nucleus samplingtop_p=0.9, and limit the answer tomax_tokens=100. We could also set parameters liketop_k, orstopsequences if needed. If you don’t specifySamplingParams, vLLM will either use model defaults or its own defaults; providing one gives you explicit control. (DeepSeek likely has its generation config with certain defaults, but it’s good to specify what you need.) - We call
llm.generate(prompts, sampling_params). Importantly, vLLM will batch these prompts together to maximize throughput. In our example, it will send both questions through the model at once (provided the model fits in memory) rather than one after the other. This is a benefit of vLLM’s continuous batching – it can handle multiple prompts concurrently, using the GPU efficiently. The resultoutputsis a list ofRequestOutputobjects, each containing the generated text for a prompt. - Finally, we print the results. We take
output.outputs[0].textfor each, since by default we asked for 1 completion per prompt (you could ask for e.g.n=3multiple completions in SamplingParams, then eachoutputs[i]would contain multiple alternative outputs).
Running a script like this will print the model’s answers to your prompts. You can then integrate this code into larger applications, or modify it for your needs (e.g. reading prompts from a file, writing outputs to a file, etc.). The key takeaway is that using vLLM’s Python API makes local inference simple and efficient – you benefit from the same high-performance engine without dealing with HTTP. Just ensure you manage the Python process memory; when the script ends or the llm object is freed, the GPU memory will be released.
Deployment Mode 3: Local vLLM Server (OpenAI-Compatible REST API)
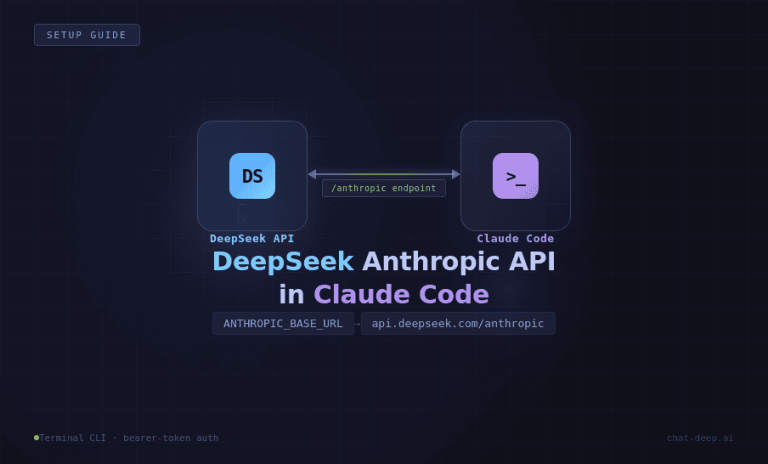
For real application deployment, you’ll often want to run the model as a service that other applications can call. vLLM shines in this scenario by providing an OpenAI-compatible RESTful API server. This means you can use existing OpenAI API clients or integration code and just point them to your local vLLM server, as if it were the OpenAI cloud. It’s extremely useful for spinning up a drop-in replacement for, say, ChatGPT, but running on DeepSeek V3.2-Exp in your own environment.
We already briefly encountered the server in the CLI section. Here we’ll elaborate on setting it up properly and calling it in a more formal way.
Launching the server: Use the vllm serve command as described earlier. You might want to add a couple of options for a production setting, for example:
vllm serve deepseek-ai/DeepSeek-V3.2-Exp \
    --host 0.0.0.0 --port 8000 \
    --tensor-parallel-size 2 \
    --threads 8
This would listen on all network interfaces (so you can call it from other machines if needed) on port 8000, utilize 2 GPUs (if available), and use 8 worker threads for request handling. Adjust these parameters to your setup.
Note: By default, vLLM’s server does not require any API key, but you can set one with --api-key if you want to secure it.
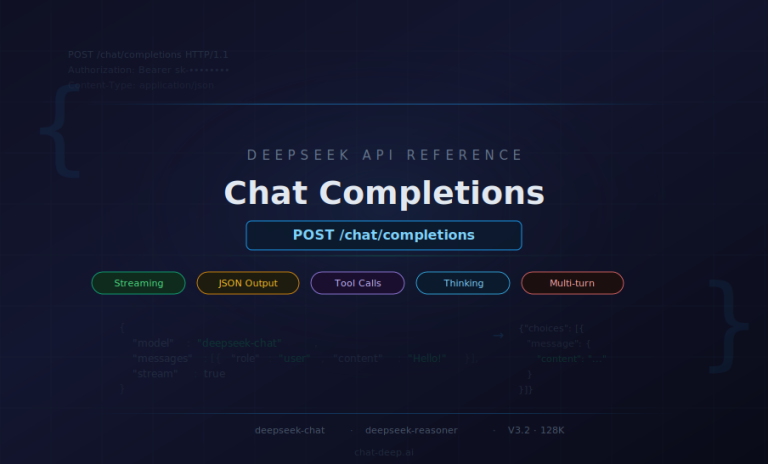
Once running, the server exposes OpenAI API endpoints. Specifically, it implements at least: /v1/completions, /v1/chat/completions, and the matching /v1/models list, etc. DeepSeek being a chat-style model, you’ll primarily use the /v1/chat/completions endpoint. The request and response format follow OpenAI’s protocol. For example, a JSON request might look like:
POST /v1/chat/completions
{
  "model": "deepseek-ai/DeepSeek-V3.2-Exp",
  "messages": [
    {"role": "system", "content": "You are a helpful AI assistant."},
    {"role": "user", "content": "Hello, what is DeepSeek V3.2-Exp?"}
  ],
  "max_tokens": 200,
  "temperature": 0.5,
  "top_p": 1.0
}
And the response will contain an id, object, created timestamp, and a choices list with the generated message (as role: assistant, content: ...). Because the server mimics OpenAI’s API, you can use any standard OpenAI SDK/client by just changing the base URL. For instance, using OpenAI’s Python client, you can do:
import openai
openai.api_key = "EMPTY"   # (vLLM doesn’t use the key, but library requires one)
openai.api_base = "http://localhost:8000/v1"

response = openai.ChatCompletion.create(
    model="deepseek-ai/DeepSeek-V3.2-Exp",
    messages=[{"role": "user", "content": "Hello, what is DeepSeek V3.2-Exp?"}]
)
print(response['choices'][0]['message']['content'])
By pointing api_base to your local server, the openai library will send requests to your vLLM instance instead of OpenAI. Similarly, any app or service that can be configured with an OpenAI API endpoint (for example, LangChain, Gradio interfaces, etc.) can be directed to http://<your-server>:8000/v1 and it should work seamlessly. This makes deploying into a web app or other system much easier – you don’t need a custom integration for DeepSeek; you use the well-known API format.
Monitoring and scaling: When running as a server, vLLM provides a /metrics endpoint (if enabled) that can be scraped by Prometheus to monitor performance (throughput, latency, memory usage). This is helpful for production use. If you need to scale out beyond one machine, the vLLM team has tools like llm-d for distributed deployment on Kubernetes. That’s beyond our scope, but it’s good to know that vLLM can handle large clusters and data-parallel serving when needed.
For a single-machine server, ensure you have adequate hardware (enough GPUs and system RAM for the model and caching). The Hopper and Blackwell generation GPUs are ideal; vLLM’s Day-0 support was tuned on those (H100/H200, etc.). If you only have smaller GPUs, consider using a distilled model or a quantized variant if available, because DeepSeek V3.2-Exp pushes memory limits.
Conclusion
DeepSeek V3.2-Exp brings cutting-edge sparse attention techniques to the table, enabling long-context LLM inference with much higher efficiency than prior models. With vLLM’s Day-0 integration, anyone with access to a high-end GPU can run this 685B-parameter model locally from the day of its release. We’ve covered how to get started from scratch: installing vLLM, understanding its PagedAttention memory system that makes serving feasible, and deploying DeepSeek V3.2-Exp in three ways – interactive CLI testing, using the Python API for custom workflows, and hosting a local server for API access. By focusing on inference (and not attempting any training), we leverage vLLM’s optimized kernels and batching to serve DeepSeek efficiently on NVIDIA hardware (with options for AMD/CPU if needed). Developers at all levels can follow this guide to experiment with one of the most advanced LLMs available, without needing to rely on cloud services.
Harnessing a model of this scale isn’t trivial, but vLLM abstracts away much of the complexity. Whether you’re chatting interactively with DeepSeek, generating batches of completions in a script, or deploying an AI assistant powered by it, the combination of DeepSeek V3.2-Exp + vLLM gives you a powerful setup from day zero. As hardware and software support continue to evolve (e.g. broader GPU support, distributed serving), running massive models locally will only get easier. We hope this guide was useful to get you started with DeepSeek V3.2-Exp and vLLM. Happy inferencing!
By following this guide, users can confidently run and experiment with DeepSeek V3.2-Exp on their own hardware from day one, taking full advantage of vLLM’s optimizations for a smooth and efficient experience.