DeepSeek is an open-source family of large language models (LLMs) that has made waves for matching the performance of top proprietary AI systems like OpenAI and Anthropic, but with fully open weights.
In late 2024, the Chinese company DeepSeek released two flagship models – DeepSeek-V3 and DeepSeek-R1 – under a permissive MIT license, meaning they are free to download, use, and modify (even for commercial projects).
This open approach drastically lowers barriers for developers and entrepreneurs: you can self-host DeepSeek models without relying on any third-party API, ensuring full control over your data and no usage fees beyond your hardware costs.
Why build an AI app with DeepSeek? For one, these models offer performance on par with the best closed-source models. DeepSeek-R1, for example, “legitimately comes close to matching closed models” in reasoning tasks and even achieved benchmark scores comparable to GPT-4-level systems.
Moreover, self-hosting a DeepSeek-powered app grants advantages in privacy (since queries never leave your server) and customizability.
You can fine-tune the model to your domain or integrate it with tools, which might be impossible with a strictly controlled API service. All of this makes DeepSeek an attractive foundation for building a virtual assistant or AI analytics application that is both powerful and open-source.
In this guide, we’ll walk through selecting the right DeepSeek model and hardware, setting up the model for inference (using Hugging Face Transformers with DeepSpeed or vLLM), building a simple front-end (with examples in React and Streamlit), adding advanced features like natural language querying and voice interaction, and finally deploying your DeepSeek virtual assistant either locally or on the cloud.
Model Selection and Hardware Requirements for Self-Hosting
DeepSeek’s open LLMs come in various scales, so choosing the right model is critical. The two headline models are DeepSeek-V3 and DeepSeek-R1.
DeepSeek-V3 is a massive general-purpose model with 671 billion parameters (Mixture-of-Experts architecture) – rivaling the largest models in existence.
However, V3’s size makes it impractical for most self-hosting scenarios (it requires a GPU cluster with hundreds of GBs of memory).
DeepSeek-R1, on the other hand, is a “reasoning” model built on V3’s base, also totaling 671B parameters but using an MoE design that activates ~37B parameters per token for inference.
R1 was trained with innovative reinforcement learning techniques to excel at chain-of-thought reasoning (math, logic, coding), making it particularly suited for analytics or assistant applications that require complex reasoning. Crucially, DeepSeek released distilled versions of R1 – smaller models that retain much of its intelligence – which are feasible to run on typical hardware.
Available DeepSeek-R1 model sizes: The distilled models range from 1.5B up to 70B parameters, built on popular open backbones (Qwen 2.5 or Llama 3).
This means you can pick a model that fits your computing resources. Generally, larger models yield better quality, but need more powerful hardware. Here’s a brief overview:
- DeepSeek-R1-Distill 1.5B: Easiest to run (only ~1.1 GB model file); can even run on CPU-only systems. Good for quick tests, but limited understanding.
- DeepSeek-R1-Distill 7B (~4.7 GB): Runs on a single consumer GPU (needs ~8 GB VRAM) or on CPU with enough RAM. This is the default model for many, offering a strong balance of intelligence vs. resource use.
- DeepSeek-R1-Distill 14B: Requires ~16 GB VRAM (high-end gaming GPU) and ~32 GB system RAM. Better accuracy and more consistent answers, suitable for serious assistant tasks.
- DeepSeek-R1-Distill 32B: ~32 GB VRAM needed (or two GPUs with sharded model), plus ample CPU memory. Offers very robust performance for complex queries.
- DeepSeek-R1-Distill 70B: Approaches the full power of R1; needs around 80 GB VRAM (e.g. an NVIDIA A100 80GB or multiple GPUs) and 128+ GB RAM. This model can rival top closed models on many tasks, but is expensive to run.
- DeepSeek-R1 (full 671B MoE): Not recommended unless you have access to a server cluster or specialized hardware (320+ GB of GPU memory). This is mostly of research interest; instead, use the distilled 70B which is far easier to deploy.
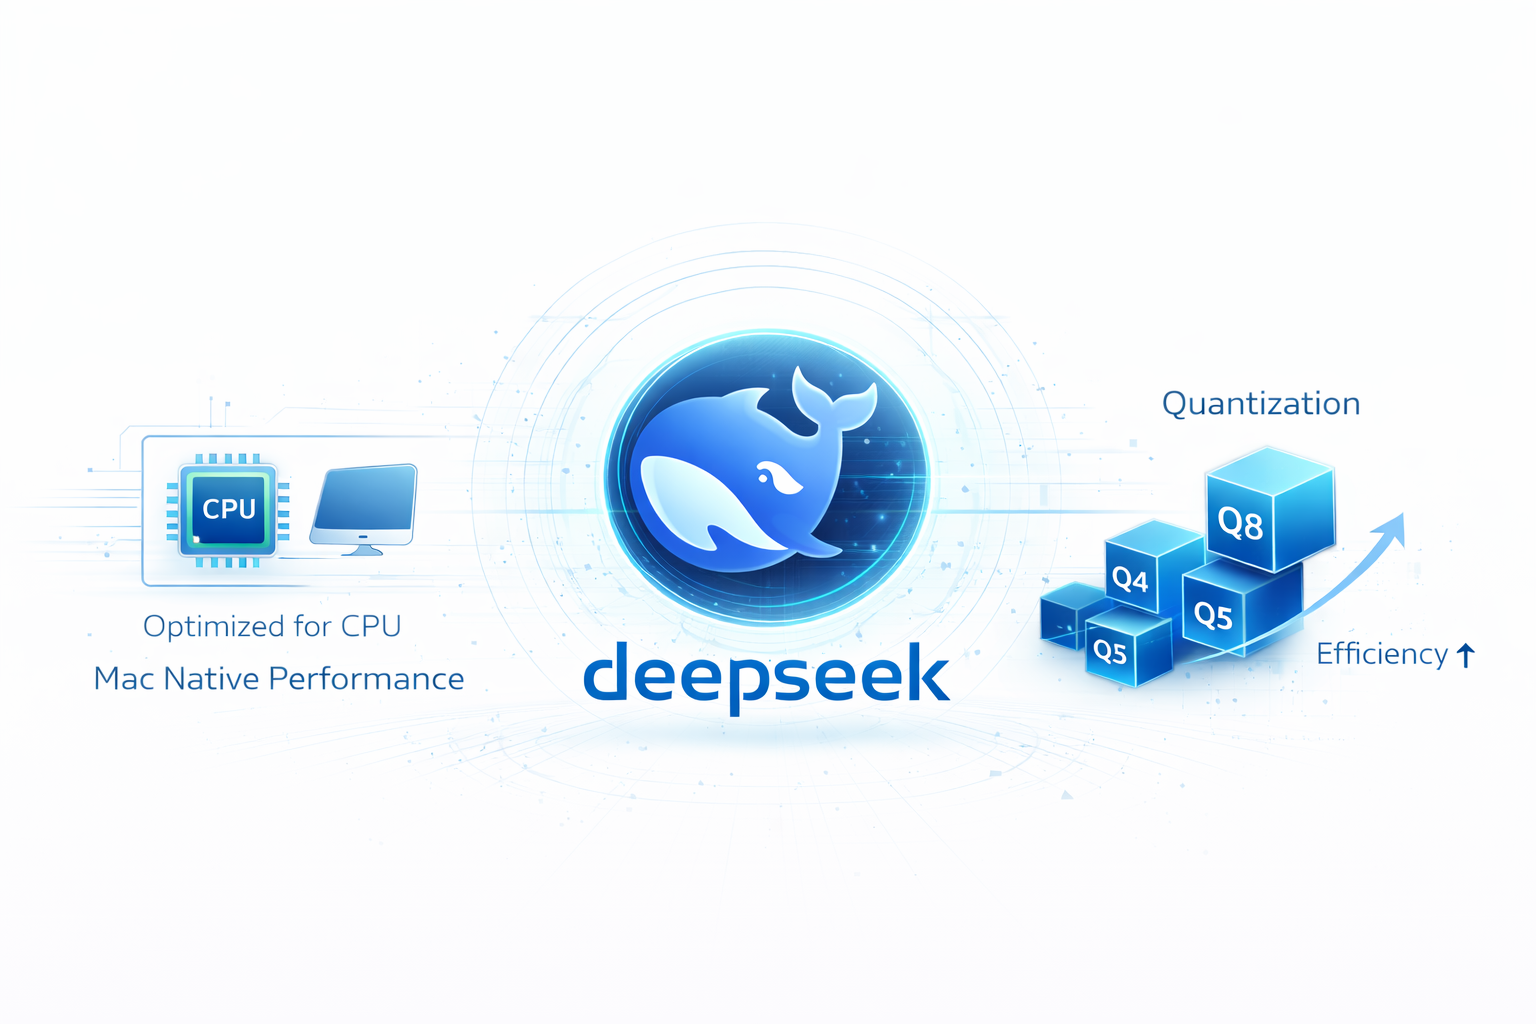
Keep in mind you can also leverage quantization to reduce memory usage. For instance, running the 70B model in 4-bit mode can bring VRAM requirements down to ~24 GB, making it feasible on a single high-end GPU.
Community tools like GGML/GGUF conversions or bitsandbytes 8-bit loading allow these large models to run on smaller systems (with some trade-off in speed). In fact, thanks to these optimizations, enthusiasts have even demonstrated DeepSeek-R1 running on devices like a Raspberry Pi (using the tiny 1.5B model).
Summary of hardware needs: At minimum, you’ll want a modern CPU (8+ cores) and sufficient RAM to hold the model and data (see figures above). For GPU acceleration, an NVIDIA GPU with CUDA support is ideal – e.g. an RTX 4090 (24 GB) can comfortably host up to the 14B model.
Multi-GPU setups or enterprise GPUs (A100/H100) are needed for the largest models. Ensure you have fast disk (SSD/NVMe) with enough space for model files (the 70B model is ~45 GB download) and swap, especially if offloading some data to CPU. With the right model choice and hardware, you’ll be ready to set up your DeepSeek-powered app.
Step-by-Step Setup (Hugging Face Transformers, DeepSpeed/vLLM, Docker)

Once you’ve picked a model, it’s time to get it running. We’ll outline the process of setting up DeepSeek for inference using Hugging Face’s Transformers library – along with tips for DeepSpeed and vLLM – and mention Docker-based options for convenience.
The goal is to have a self-hosted DeepSeek model responding to queries on your machine or server. Let’s go through the steps:
- Environment Setup: First, ensure you have a suitable environment. Install Python 3.8+ and create a virtual environment (optional but recommended). You’ll need PyTorch and Hugging Face Transformers. For example, on a machine with GPU support, you can install via pip:
pip install transformers accelerate torch(make sure to install a CUDA-enabled PyTorch if using a GPU). If you plan to use DeepSpeed or vLLM, install them as well: e.g.pip install deepspeed vllm. These libraries will help optimize the model’s inference throughput (DeepSpeed for high-performance multi-GPU or CPU offloading, and vLLM for efficient text generation serving). - Download the DeepSeek model weights: DeepSeek models are hosted on Hugging Face Hub for easy access. You can download them either with the
huggingface-clitool or directly in code. For instance, the 7B distilled model ID is"deepseek-ai/DeepSeek-R1-Distill-Qwen-7B". You could use the Transformers API to download when loading the model (it will cache the files). If you prefer manual download, you might usegit lfsor the Hugging Face web UI to get the files. Ensure you have sufficient disk space (see model sizes above). - Load the model with Transformers: Using the Transformers library, you can load the model and tokenizer in just a few lines of code. For example, in Python:
from transformers import AutoTokenizer, AutoModelForCausalLM model_id = "deepseek-ai/DeepSeek-R1-Distill-Qwen-7B" tokenizer = AutoTokenizer.from_pretrained(model_id, trust_remote_code=True) model = AutoModelForCausalLM.from_pretrained( model_id, torch_dtype=torch.float16, # use half precision for efficiency device_map="auto", # automatically uses GPU if available trust_remote_code=True )This will download the model if not already present and load it into memory. We specifytorch_dtype=torch.float16to cut memory usage in half (fp16) anddevice_map="auto"to have the model layers automatically allocated to your GPU (or CPU) as needed. Thetrust_remote_code=Trueis included because some DeepSeek model variants (like those based on Qwen) use custom code; this flag allows Transformers to use that custom architecture code. After loading, test the setup by generating a simple output:prompt = "Hello, my name is DeepSeek. How can I help you today?" inputs = tokenizer(prompt, return_tensors='pt').to(model.device) outputs = model.generate(**inputs, max_new_tokens=100) print(tokenizer.decode(outputs[0], skip_special_tokens=True))If everything is set up, the model should produce a coherent completion for the prompt. - Optimize with DeepSpeed (optional): For larger models or faster inference, integrate DeepSpeed or Hugging Face Accelerate. DeepSpeed’s inference engine can shard the model across multiple GPUs and optimize memory usage (through ZeRO-Inference and other tricks). To use it, you might create a deepspeed config JSON and load the model with
accelerateor callAutoModelForCausalLM.from_pretrained(..., device_map="auto", deepspeed=config.json). This is more advanced, but the payoff is smoother scaling to big models. For instance, developers have managed to serve the 70B model on a single A100 40GB GPU by using 8-bit quantization and DeepSpeed optimizations. If you’re only on CPU, consider using smaller models or installingbitsandbytesfor 8-bit quantized loading to save RAM. - Serve via vLLM for high-throughput API: If you want to build a service (especially one that serves multiple users or streams responses), vLLM is a great choice. vLLM is an open-source inference server that provides an OpenAI-like API for any model, with optimized GPU memory management and fast token generation. You can launch a vLLM server for DeepSeek with a single command. For example:
vllm serve deepseek-ai/DeepSeek-R1-Distill-Qwen-32B \ --tensor-parallel-size 2 --max-model-len 32768This command (from DeepSeek’s documentation) will spin up a local server hosting the 32B model, using 2 GPUs in parallel and supporting long 32k token contexts. Once running, vLLM exposes endpoints (compatible with OpenAI’s Chat Completion API schema), so your app can make HTTP requests tohttp://localhost:8000(default) to get model outputs. vLLM handles efficient scheduling of requests and can stream tokens for real-time response. This approach is excellent for a production web app where multiple queries may hit the model concurrently. - Using Docker for easy setup (optional): To simplify environment setup, you can deploy DeepSeek in a Docker container. For example, the community has had success using Ollama – a lightweight LLM runner – via Docker. Ollama comes pre-packaged to run models like DeepSeek without manual library installs. You could use a
docker-compose.ymlto define two services: one for the DeepSeek model server and one for your front-end. In the back-end service, use the officialollama/ollamaimage which has the runtime; map a volume for model storage and expose the port. Then run:docker compose up -d ollamaand useollama pull deepseek-r1:7bto download the model inside the container. This will start the DeepSeek model server on a port (e.g. 11434 by default for Ollama). The advantage of a Docker-based DeepSeek R1 setup is that it encapsulates all dependencies, and you could deploy the same container on a cloud VM or a different machine easily. Many open-source projects and guides (see references) provide ready-to-use Docker setups for DeepSeek R1.
By the end of this setup, you should have a DeepSeek model running locally – either as a loaded model in a script or as a service waiting for requests. Next, let’s create a user-facing front-end to interact with this AI engine.
Building the App Frontend (React or Streamlit) and Connecting to the Backend
With the DeepSeek model up and running, you’ll need a front-end interface for users to interact with your AI assistant or analytics app. This could be a web application (e.g. built with React), a desktop/mobile app, or even a simple UI library like Streamlit for prototypes.
The key task is to connect the UI to the back-end model (the DeepSeek service or script) so that user inputs are fed to the model and the model’s responses are displayed back to the user.
Example of a simple local web interface built to chat with a self-hosted DeepSeek model. Here, a front-end HTML/JS app sends the user’s question to a local DeepSeek API and streams back the answer.
Web Front-End (React Example): If you’re building a web app, React (or any modern framework) can be used to create a chat interface. The front-end would typically consist of an input box (for the user’s question) and a display area for the AI’s response.
When the user submits a query, your React app should send it to the back-end. Assuming you used a REST API (like the vLLM server or Ollama’s API mode), this means making an HTTP POST request to an endpoint (e.g. /generate or /chat) with the prompt. For example, using fetch in JavaScript:
const response = await fetch("http://localhost:11434/api/generate", {
  method: "POST",
  headers: {"Content-Type": "application/json"},
  body: JSON.stringify({ model: "deepseek-r1:7b", prompt: userQuestion, stream: true })
});
This call sends the user’s question to the DeepSeek back-end (here using Ollama’s endpoint). Notice the stream: true – that enables token streaming, so the user sees the answer appear word-by-word.
On the React side, you’d read the streamed response (which might come as a series of events or chunks) and update the UI incrementally.
Alternatively, you can wait for a full response and then display it. The back-end API will return the model’s answer (in our case, DeepSeek’s generated text) which you then render in the chat UI.
Styling and handling edge cases (like clearing input, error messages if the server is down, etc.) are all standard front-end tasks.
The main point is that the front-end communicates with the DeepSeek model via HTTP requests – either directly if it’s a web app hitting a local endpoint, or via your own intermediate server if you prefer to proxy the requests.
Streamlit or Simpler UI: For a quick demo or an internal tool, a library like Streamlit can create an interactive UI in pure Python.
With Streamlit, you can write a few lines to accept user text input and, on submit, call the DeepSeek model (which you loaded in Python) to generate a response, then display the response. Streamlit will handle the web serving and UI rendering for you. Here’s a pseudo-code example:
import streamlit as st
from transformers import AutoModelForCausalLM, AutoTokenizer

# Load model (as done earlier)
model, tokenizer = load_deepseek_model()

st.title("DeepSeek AI Assistant")
user_query = st.text_input("Ask a question:")
if st.button("Submit") and user_query:
    # Generate answer
    inputs = tokenizer(user_query, return_tensors='pt').to(model.device)
    outputs = model.generate(**inputs, max_new_tokens=200)
    answer = tokenizer.decode(outputs[0], skip_special_tokens=True)
    st.write(answer)
This would create a simple single-page app where users enter a question and get an answer. Streamlit automatically refreshes the output area when st.write is called. While not as feature-rich as a custom React app, it’s very quick for prototyping an AI analytics app or FAQ bot.
Another alternative is using Gradio, which provides ready-made chat interface components for LLMs with minimal code.
No matter which front-end approach you choose, the crucial part is connecting it to the DeepSeek back-end. Common methods include RESTful HTTP calls (as shown), WebSocket connections for real-time streaming, or using an SDK if one is available (for instance, the Ollama CLI has a Python SDK to call the local model server).
Ensure you handle things like long responses (you may want to stream or chunk them), and consider adding some state to maintain conversation context if building a multi-turn chatbot (you can send the model the conversation history as part of the prompt, up to the context length limit).
Lastly, design your front-end according to the use case: an AI-powered analytics app might have a different UI (perhaps allowing the user to upload a dataset or choose charts) compared to a voice-based virtual assistant (which might have a microphone button and audio output). In the next section, we discuss integrating such advanced features into your DeepSeek app.
Integrating Advanced Features: Natural Language Queries, Analytics Prompts, and Voice Interaction
Building a compelling AI app often means going beyond basic Q&A. DeepSeek’s capabilities enable various advanced features that can make your virtual assistant or analytics tool more powerful and user-friendly:
Natural Language Queries for Analytics
One exciting use case is an AI analytics app where users ask questions about data in plain English and the app returns insights. With DeepSeek, you can implement this by coupling the model with your data backend.
For example, you might allow questions like “What were our sales last quarter compared to the previous quarter?” and have the app translate that into a database query or a computation.
DeepSeek can help in two ways: (1) It can parse and understand the question, possibly even generating SQL code or pandas commands (LLMs are surprisingly good at this), and (2) it can be prompted to format the answer in a friendly way.
To integrate this, you could use techniques like retrieval-augmented generation: plug in a tool that fetches the relevant data (perhaps using a predefined mapping or a plugin function) and feed that data into the model’s prompt.
For instance, your system prompt might include: “You have access to a database of sales. When the user asks an analytics question, formulate the SQL, get the result, and then explain it.” The model can output the SQL (which your code executes securely) and then incorporate the results in its answer.
This approach requires careful prompt design and possibly fine-tuning, but it can turn DeepSeek into a powerful data analyst assistant.
Domain-Specific Prompts and Knowledge
If your app targets a specific domain (finance, healthcare, etc.), consider crafting specialized prompt templates or fine-tuning the model on relevant data. DeepSeek models can accept instructions or context in the prompt.
For example, an analytics prompt template might be: “You are an expert data analyst. Using the company’s sales data, answer the following question step by step.” Then insert the user’s question. This primes the model to respond with analytical detail.
DeepSeek-R1 is particularly strong at multi-step reasoning, especially if you encourage it to “think” (it even has an internal <think> mechanism for chain-of-thought). You can exploit this by instructing the model to reason step-by-step for complex analytics questions.
Many developers also integrate knowledge bases: for instance, using a vector database (like Milvus or FAISS) to retrieve relevant documents or facts and prepend them to the prompt, so that the model has up-to-date or company-specific info to work with.
This way, your virtual assistant can answer questions about your data or product, not just general knowledge.
Voice Interaction (Speech I/O)
To transform your text-based assistant into a voice-enabled virtual assistant, you can add speech recognition and speech synthesis. For voice input, you’ll need a Speech-to-Text (STT) component.
One option is to use an open-source model like OpenAI Whisper (which can run locally) or other STT engines to convert the user’s spoken question into text.
Once you have the text, feed it to DeepSeek as usual. Then, for the model’s reply, use a Text-to-Speech (TTS) system to speak it out. There are open-source TTS models (e.g. Coqui TTS or FastSpeech) or services that can generate fairly natural voices.
Integrating this might involve a bit of wiring – for example, in a Python app you could call a Whisper model for input and a TTS for output audio. In a React app, you might use the Web Speech API or call an API for speech.
The result is a conversational assistant that users can talk to and listen to, much like Siri or Alexa but powered by your self-hosted DeepSeek brain. When implementing voice, remember to handle things like end-of-speech detection, and possibly add a wake-word or button to start listening to avoid constant transcription.
Multi-Modal Inputs (future possibilities)
While DeepSeek R1 and V3 are primarily text-based, you could extend your app with other AI models to handle images or other data if needed (for example, letting users ask questions about an image by pairing a vision model with DeepSeek’s text reasoning).
This is beyond our scope, but worth noting that open-source ecosystems allow such combinations to build rich AI applications.
When adding features, always test with real-world scenarios. For analytics, verify the model doesn’t hallucinate plausible-sounding but incorrect numbers (you might enforce that any quantitative answer must come from the database).
For voice, ensure the transcription is accurate enough for DeepSeek to understand. The flexibility of open-source models means you can iterate and adjust these components freely – a key advantage of building your AI app on DeepSeek instead of a black-box API.
Optimization Tips (Prompt Tuning, LoRA Fine-Tuning, GPU Usage, Scaling)
As you develop your DeepSeek-based app, you’ll want to optimize both the model’s outputs and the system’s performance. Here are some tips:
Prompt Engineering & Prompt Tuning
How you prompt DeepSeek can greatly affect results. Experiment with wording, adding few-shot examples, or role instructions to get the desired output style. DeepSeek-R1 models tend to do well with a slightly lower temperature (around 0.6) to avoid rambling.
You might also leverage prompt tuning (also known as prefix tuning) – this is a technique where you learn a custom token sequence (a “soft prompt”) that, when prepended to queries, consistently guides the model’s behavior.
Tools from Hugging Face can help train such soft prompts on your dataset without modifying the model’s weights. This can be useful if you want your virtual assistant to have a particular persona or focus (e.g., always answer in a formal tone, or always provide sources for answers).
LoRA Fine-Tuning
If you have domain-specific data or want to improve the model on certain tasks, consider LoRA (Low-Rank Adaptation) fine-tuning. LoRA allows you to train small adapter matrices for the model, drastically reducing the computational load and GPU memory required compared to full model fine-tuning.
For example, you could fine-tune a 7B or 14B DeepSeek distilled model on your company’s Q&A data or on medical transcripts, using LoRA on a single GPU. The output is a lightweight file (few megabytes) that can be loaded on top of the base model to give it new capabilities.
Many in the community have created LoRA adapters for DeepSeek; over a hundred LoRA models for R1 are available on Hugging Face Hub. This means you might even find pre-made LoRA weights for your domain to jump-start development.
Fine-tuning via LoRA or similar techniques (e.g. QLoRA, which fine-tunes a quantized model) can significantly boost performance on specialized tasks without needing to train the full 70B parameters.
Efficient GPU Usage
Running large models is resource-intensive, so use all the tricks to maximize efficiency. We already mentioned quantization (fp16, int8, int4).
Make sure to enable CUDA optimizations like using a recent GPU driver and setting environment variables for tensor cores (if using NVIDIA GPUs with tensor cores, ensure operations use those).
If your model supports it, use an optimized attention implementation (FlashAttention or xFormers) to speed up long context handling. Frameworks like DeepSpeed and vLLM automatically apply many optimizations, but if writing your own loop, consider using batch generation for multiple requests at once to better utilize GPU.
Also monitor GPU memory usage – the accelerate library’s device_map="auto" can offload some layers to CPU if memory is exceeded, but for better performance you might manually distribute the model across multiple GPUs (e.g., 2 GPUs each holding half the layers).
DeepSeek’s 32K context length in R1 models is great for allowing long conversations or documents, but remember that longer inputs mean slower inference and more memory usage, so balance your use of context size as needed.
Scaling and Concurrency
If you expect many users or heavy query loads, plan for scaling out. One approach is horizontal scaling: run multiple instances of your DeepSeek service (e.g., several containers or processes each with a model loaded) and put a simple load balancer in front.
Each instance still needs adequate GPU resources, but you can use cloud auto-scaling to add instances when demand spikes.
Another approach is model sharding: vLLM, for example, supports distributed deployment where different GPUs (even on different machines) collectively serve one model, allowing you to handle larger models or more throughput.
Ensure your infrastructure (CPU, network, disk) can keep up with the GPUs – for example, high I/O for loading models and fast interconnect for multi-GPU communication (if using multi-node, something like InfiniBand or at least 10Gb Ethernet is advisable).
Also consider request batching: serving frameworks can batch multiple small queries together in one forward pass to boost throughput. vLLM excels at this by default, and Hugging Face’s text-generation-inference (TGI) server is another tool that does smart batching.
The bottom line is to profile your application: measure the latency of a single query, and throughput in queries per second. With open-source, you have the freedom to tweak the trade-offs (e.g., generating with fewer tokens or a lower max_length to reduce latency, if that suits your app).
Monitoring and Optimization
In a production setting, treat the model like any other service – monitor its performance and resource usage. Track metrics such as response time, memory utilization, and even the quality of responses (perhaps via user feedback).
If the model is too slow, you might enable caching for certain frequent queries or responses. If it’s using too much memory, try a smaller model or further quantization.
Keep an eye on new developments: the open-source AI field moves fast, and there may be new techniques to compress models or serve them more efficiently (for example, research into GPTQ 4-bit quantization or the next generation of inference engines).
DeepSeek itself is evolving (there’s mention of DeepSeek-V3.1 and others in development), so future models might offer better performance-per-compute.
By applying these optimization strategies, you can ensure your DeepSeek-powered app runs smoothly and cost-efficiently, while delivering high-quality AI responses to your users.
Deployment Options: Local Server vs Cloud VM
Finally, you’ll need to decide where to host your AI application. The two primary options are deploying on your own local server (or on-premises hardware) versus using a cloud virtual machine or service. Each has its pros and cons:
Local Deployment (On-Prem or Personal Server)
Running DeepSeek on a local machine or server you control is ideal for maximum privacy and control. For instance, a healthcare startup might keep the model on an on-prem server to ensure patient data never leaves their environment.
Local deployment also avoids recurring cloud costs – once you’ve invested in a suitable GPU machine, you can run the model as much as you need. With local hosting, you might use a desktop with an RTX 4090 or a small server with an NVIDIA A6000 or similar to handle a 20–30B model.
If using Docker, you can set it up on, say, a home lab server and even enable network access so multiple devices (PCs, smartphones on the LAN) can use the assistant via a web interface.
The downside of local hosting is limited scalability – your single machine can only handle so many requests and so large a model. Also, maintenance (keeping the software updated, ensuring uptime) is on you. But for many developers and small-scale deployments, local self-hosting is a cost-effective and secure choice.
Cloud VM Deployment
If you need more power or want to serve users over the internet, cloud is the way to go. Cloud providers like AWS, Google Cloud, Azure and others offer GPU-equipped VM instances you can rent hourly.
You could start with a modest GPU VM (e.g., AWS g5 instances with an NVIDIA A10G 24GB GPU for a 13B model) and scale up as needed.
For heavier workloads or larger models, consider AWS P4 or Azure ND-series instances that have A100 or H100 GPUs. Cloud deployment shines in flexibility: you can provision a beefy 8-GPU server for a day to handle a spike, or use auto-scaling groups to spin up instances when traffic increases.
It’s also accessible – your app can be reachable to users globally with the right network setup. However, keep an eye on cost: running a high-end GPU 24/7 can be expensive. For example, a single A100 40GB node might cost on the order of $2–$3 per hour on AWS on-demand, though cheaper options exist (spot instances or alternative providers).
Some providers like DataCrunch or Lambda Labs offer lower-cost GPU rentals; one guide managed a 40GB A100 for about €0.47/hour via a cloud GPU service. Always weigh the cost of cloud vs. the benefit of not having to buy hardware upfront.
Hybrid and Advanced Deployments
You can also mix approaches. For instance, develop and test locally, then deploy to cloud for production. Or keep smaller models local for certain tasks and call a cloud-hosted bigger model when needed.
Containerization with Docker and orchestration with Kubernetes can aid in these deployments – you could define a Kubernetes cluster that runs your DeepSeek service with a certain number of replicas, perhaps even spanning on-prem and cloud nodes.
Platforms like Northflank and BentoML have started providing templates for deploying LLMs like DeepSeek on cloud or Kubernetes easily.
If uptime and reliability are crucial, set up monitoring and maybe a fallback system (for example, if your DeepSeek instance is down, your app could temporarily use a smaller local model or a hosted API as backup).
In summary, self-hosting DeepSeek gives you the freedom to deploy where it makes most sense for your project. A solo developer tinkering on a chatbot might stick to running it on a personal PC, whereas a startup launching a SaaS AI assistant might choose a cloud deployment for accessibility.
Either way, because DeepSeek is open-source, you’re not locked in – you can move your deployment between cloud providers or on-prem hardware with no license headaches.
Just be sure to follow best practices for security (especially on cloud: restrict access to your model endpoints, use SSH keys, etc.) and monitor the resource usage so you can right-size your infrastructure.
By following this guide, you should be well on your way to building an AI app with DeepSeek – from selecting the right model and hosting environment to implementing it in an interactive application with advanced features.
DeepSeek’s open models like R1 put a state-of-the-art virtual assistant within reach of anyone with a GPU and some coding skills. With careful setup and optimization, you can create a DeepSeek virtual assistant or AI analytics app that rivals the experience of commercial AI services, all while maintaining full control over your system. Good luck, and happy building with DeepSeek!